SketchyBar is a powerful macOS menu bar replacement tool designed for users who want full control over their system status bar. Built for flexibility, performance, and customization, it allows developers and advanced macOS users to create a fully personalized desktop experience. Installing it requires a few technical steps, but the process becomes straightforward when followed correctly.
This guide explains how to install SketchyBar on macOS, configure dependencies, and get it running efficiently. It also covers common setup issues and optimization tips for better performance.
What is SketchyBar and Why Use It?
SketchyBar replaces or enhances the default macOS menu bar with a customizable interface. Unlike traditional status bars, it supports scripting, dynamic modules, and advanced styling.
Key advantages include:
- Fully customizable menu bar layout
- Lightweight performance with low system impact
- Scriptable components for developers
- Seamless integration with macOS workflows
- Real-time system monitoring options
Developers, designers, and productivity-focused users often choose SketchyBar to build a minimal or information-rich desktop environment.
Read More: SketchyBar Overview: A Modern Way to Customize Your macOS Menu Bar.
System Requirements Before Installation
macOS must meet basic development prerequisites before installing SketchyBar.
Required setup includes:
- macOS Monterey or later recommended
- Command Line Tools for Xcode
- Homebrew package manager installed
- Basic terminal usage familiarity
Homebrew simplifies dependency management and ensures smoother installation of required packages.
Step 1: Install Homebrew (If Not Installed)
Homebrew acts as the foundation for installing SketchyBar dependencies.
Run the following command in Terminal:
/bin/bash -c "$(curl -fsSL https://raw.githubusercontent.com/Homebrew/install/HEAD/install.sh)"After installation, verify it:
brew --versionHomebrew enables the quick installation of fonts, libraries, and tools required for SketchyBar.
Step 2: Install Required Dependencies
SketchyBar depends on several macOS utilities.
Install essential packages using Homebrew:
brew install sketchybar
brew install --cask font-hack-nerd-font
Additional useful tools:
brew install jq
brew install switchaudio-osx
brew install yabai
These tools support system control, window management, and UI rendering.
Step 3: Install SketchyBar
After dependencies are ready, install SketchyBar directly:
brew install FelixKratz/formulae/sketchybarThis command downloads and installs the latest stable version.
Verify installation:
sketchybar --versionA version output confirms successful installation.
Step 4: Create Configuration Directory
SketchyBar uses a configuration folder located in the user directory.
Create configuration structure:
mkdir -p ~/.config/sketchybarCopy example configuration for initial setup:
cp -r /opt/homebrew/opt/sketchybar/share/sketchybar/examples/* ~/.config/sketchybar/This provides a working baseline configuration.
Step 5: Run SketchyBar for the First Time
Start the service manually:
sketchybarIf installed correctly, the macOS menu bar will update instantly.
To reload configuration changes:
sketchybar --reloadThis command helps test adjustments without restarting the system.
Step 6: Enable Auto Start on Login
To make SketchyBar launch automatically:
Create a launch agent file:
mkdir -p ~/Library/LaunchAgents
nano ~/Library/LaunchAgents/com.sketchybar.plist
Add configuration:
<?xml version="1.0" encoding="UTF-8"?>
<!DOCTYPE plist PUBLIC "-//Apple//DTD PLIST 1.0//EN">
<plist version="1.0">
<dict>
  <key>Label</key>
  <string>com.sketchybar</string>

  <key>ProgramArguments</key>
  <array>
    <string>/opt/homebrew/bin/sketchybar</string>
  </array>

  <key>RunAtLoad</key>
  <true/>
</dict>
</plist>
Load service:
launchctl load ~/Library/LaunchAgents/com.sketchybar.plistNow SketchyBar starts automatically after login.
Step 7: Basic Configuration Customization
Configuration files control layout, icons, and behavior.
Main config file:
~/.config/sketchybar/sketchybarrcCommon customization options:
Change Bar Appearance
Modify background color, padding, and transparency.
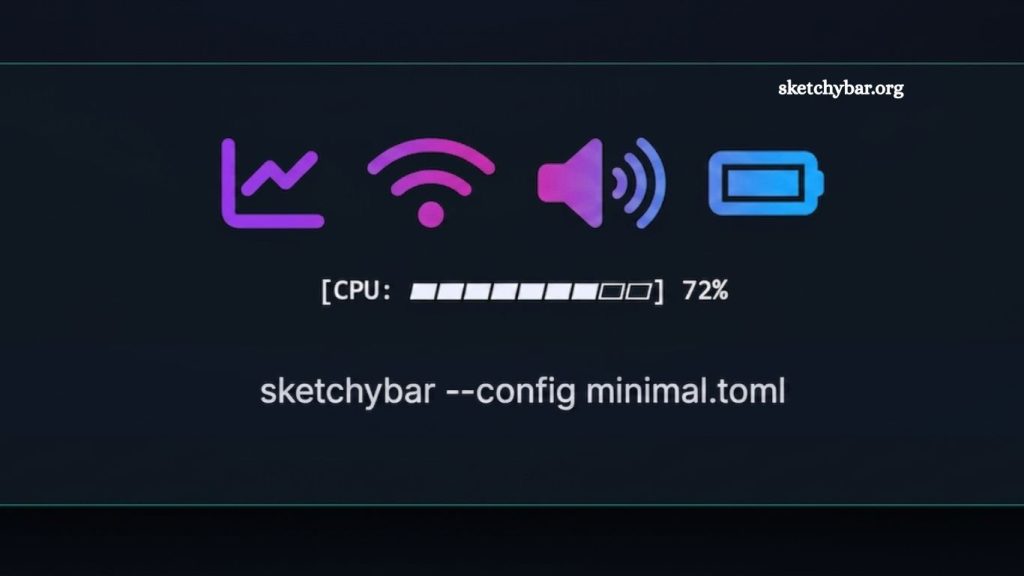
Add System Modules
Include:
- Battery status
- Wi-Fi strength
- CPU usage
- Clock display
Script Integration
Run shell scripts to display dynamic data.
Example:
sketchybar --add item clock right \
           --set clock update_freq=10 script="date '+%H:%M:%S'"
Step 8: Troubleshooting Common Issues
The installation of SketchyBar may present minor issues.
Issue: Command Not Found
Solution:
Ensure Homebrew path is added:
eval "$(/opt/homebrew/bin/brew shellenv)"Issue: Bar Not Visible
Solution:
Restart service:
sketchybar --reloadIssue: Missing Fonts
Solution:
brew install font-hack-nerd-fontThen restart SketchyBar.
Step 9: Performance Optimization Tips
Better performance improves usability and responsiveness.
Recommended practices:
- Avoid excessive scripts running every second
- Use lightweight shell commands
- Reduce refresh frequency for static modules
- Keep configuration modular and organized
An efficient setup ensures a smooth macOS experience without system lag.
Step 10: Advanced Customization Ideas
SketchyBar supports advanced workflows for power users.
Popular enhancements include:
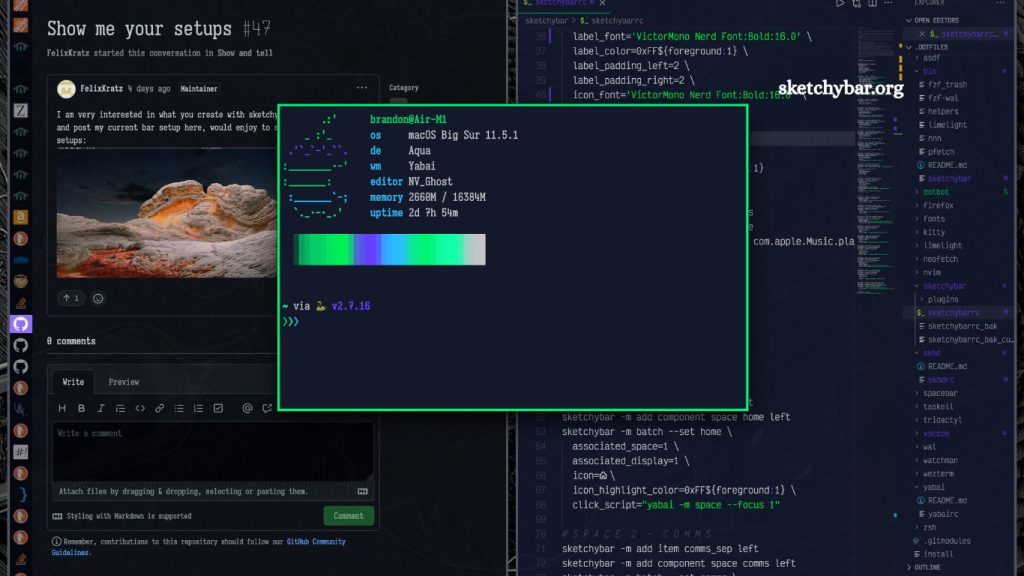
Workspace Indicators
Show active applications and desktops dynamically.
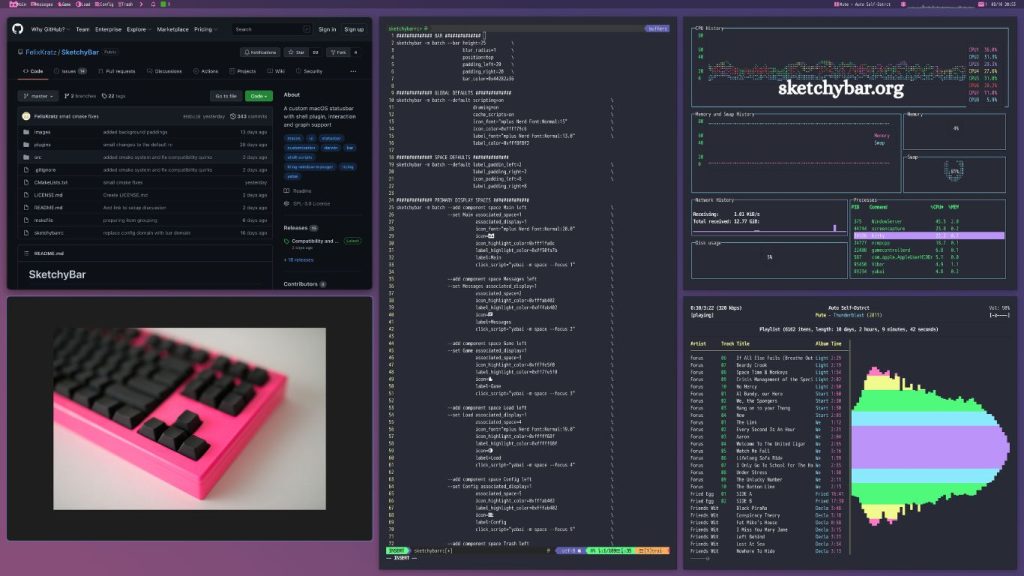
System Monitoring Dashboard
Track CPU, RAM, and network usage in real time.
Music Integration
Display the currently playing track from Spotify or Apple Music.
Development Workflow Tools
Add Git branch status, build indicators, and deployment shortcuts.
Why SketchyBar Stands Out
Many macOS customization tools exist, but SketchyBar focuses on performance and developer flexibility.
Key differentiators:
- Native macOS integration
- Script-driven architecture
- Minimal system overhead
- Highly modular design
- Strong community-driven configuration examples
These features make it ideal for users who want full control over their desktop environment.
Frequently Asked Questions
What is SketchyBar used for?
SketchyBar is used to replace or customize the macOS menu bar with dynamic, scriptable components.
Is SketchyBar free to install?
Yes, SketchyBar is open-source and free to install and use on macOS systems.
Do I need Homebrew to install SketchyBar?
Homebrew is strongly recommended because it simplifies installing SketchyBar and all required dependencies on macOS.
Which macOS versions support SketchyBar?
SketchyBar works best on macOS Monterey and newer versions.
Why is SketchyBar not showing after installation?
This usually happens due to a missing configuration or the service not running. Restart SketchyBar using the reload command.
Can SketchyBar run automatically at startup?
Yes, it can be configured using a Launch Agent to start automatically when macOS boots.
Is SketchyBar difficult for beginners?
Basic installation is simple, but advanced customization requires familiarity with terminal commands and scripting.
Conclusion
Installing SketchyBar unlocks a highly customizable macOS experience designed for performance and control. With proper setup using Homebrew, required dependencies, and configuration files, the tool transforms the default menu bar into a flexible productivity dashboard.