SketchyBar gives macOS users full control over their menu bar experience. It replaces the default status bar with a flexible, scriptable, and highly customizable interface. Developers, power users, and designers use it to build minimal, informative, and visually refined top bars that match their workflow and aesthetic.
This guide explains how to customize SketchyBar in a practical, structured way. You will learn configuration basics, styling techniques, scripting options, and advanced customization methods to build a fully personalized macOS status bar.
What is SketchyBar?
SketchyBar is a macOS status bar replacement designed for flexibility and performance. It allows users to create custom modules such as clocks, system stats, media controls, workspace indicators, and app shortcuts.
Unlike the default macOS menu bar, SketchyBar uses a configuration-driven approach. Users define behavior and appearance using scripts and configuration files. This makes it ideal for users who want complete control over design and functionality.
Read More: Top SketchyBar Themes for a Clean macOS Setup
Why Customize SketchyBar?
Customizing SketchyBar improves productivity and system visibility. A well-designed bar provides real-time system insights and quick access to essential tools.
Key benefits include:
- Cleaner and more minimal desktop environment
- Real-time system monitoring
- Custom workspace and window management
- Aesthetic alignment with your macOS theme
- Automation through scripts and plugins
Customization transforms SketchyBar from a simple bar into a powerful control center.
Installing SketchyBar
Before customization, installation must be complete.
Most users install SketchyBar using Homebrew:
brew install sketchybar
After installation, start the service:
brew services start sketchybar
Configuration files are usually stored in:
~/.config/sketchybar/
This folder becomes the foundation of all customization.
Understanding SketchyBar Configuration Structure
SketchyBar uses a modular configuration system. Each part of the bar is controlled separately.
Key components include:
- config file: Main settings and initialization
- items: Individual bar elements (clock, battery, etc.)
- plugins: Scripts that fetch or display dynamic data
- styles: Visual appearance settings
Each item behaves independently, allowing fine-grained control.
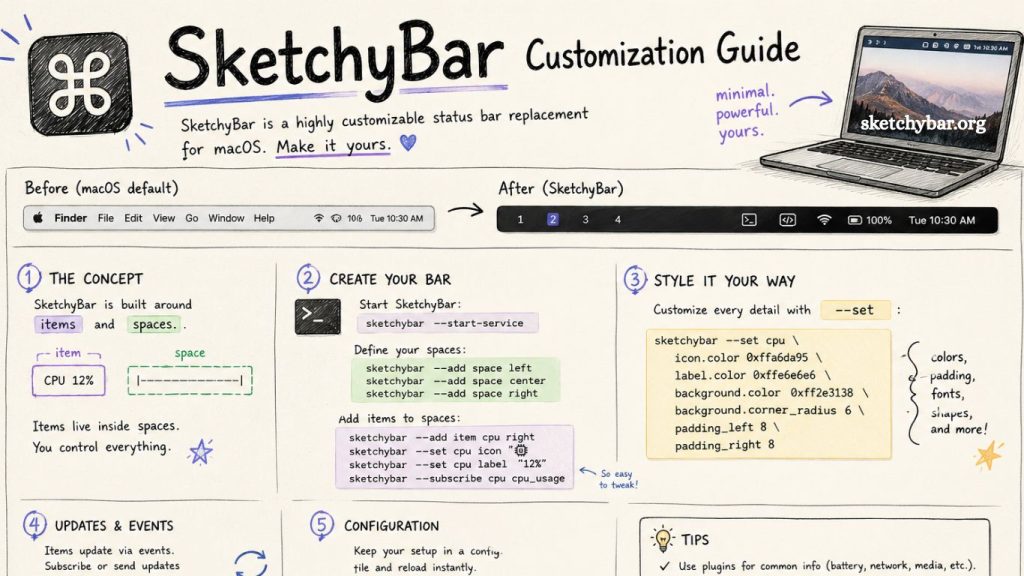
Creating Basic Items in SketchyBar
Items represent elements shown in the bar.
A simple item example:
sketchybar –add item clock right
This command adds a clock on the right side of the bar.
Next, set its label:
sketchybar –set clock label=”Loading…”
Items can display system data, text, or script output.
Common item types include:
- Clock
- CPU usage
- Memory usage
- Battery status
- Workspaces
Each item can be styled and updated independently.
Styling SketchyBar for a Custom Look
Design plays a major role in SketchyBar customization. Users can adjust fonts, colors, spacing, and icons.
- Change Background Color
- sketchybar –bar color=0xff1e1e2e
- Adjust Transparency
- sketchybar –bar blur_radius=20
- Modify Fonts
- sketchybar –set clock label.font=”SF Pro:Bold:14.0″
- Add Padding and Spacing
- sketchybar –bar padding_left=10 padding_right=10
Design consistency improves readability and visual flow across the bar.
Adding System Monitoring Features
SketchyBar supports system stats through scripts and plugins.
CPU Usage
Create a CPU item:
sketchybar –add item cpu right
Attach a script:
sketchybar –set cpu script=”~/.config/sketchybar/plugins/cpu.sh”
Inside cpu.sh, you can calculate CPU usage and display it dynamically.
- Battery Status
- sketchybar –add item battery right
- sketchybar –set battery script=”~/.config/sketchybar/plugins/battery.sh”
These scripts run periodically and update values in real time.
Using Plugins for Dynamic Behavior
Plugins extend SketchyBar functionality. They are typically shell scripts that return output for items.
Example plugin structure:
!/bin/bash
PERCENT=$(pmset -g batt | grep -o “[0-9]*%”)
echo “Battery: $PERCENT”
Make script executable:
chmod +x battery.sh
Plugins enable:
- Weather updates
- Network speed
- Active window tracking
- Music playback info
This system keeps the bar dynamic and useful.
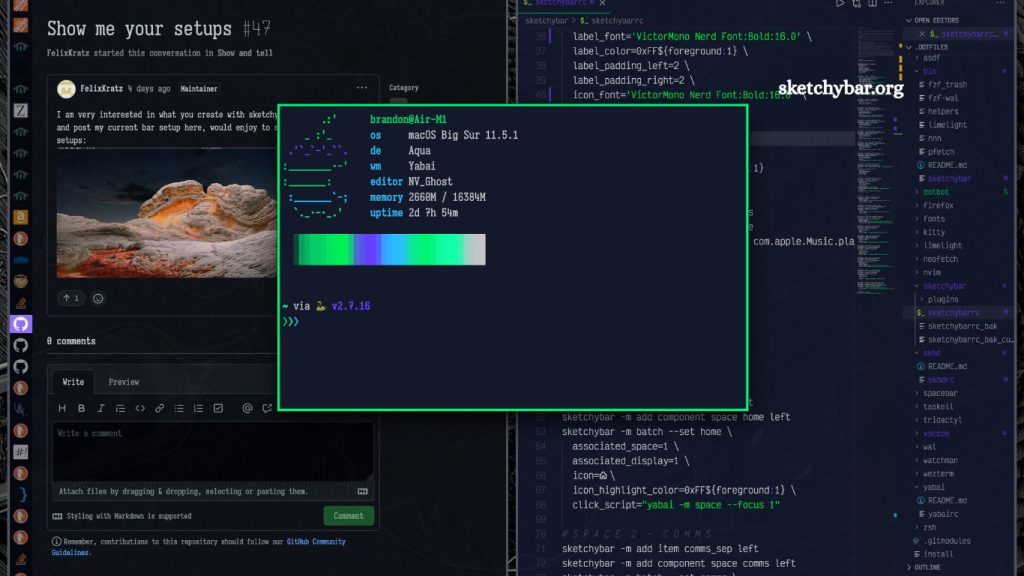
Workspace and Window Management Integration
SketchyBar integrates well with tools like yabai or aerospace window managers.
You can display active workspaces:
sketchybar –add item spaces left
Each workspace can highlight active windows or apps.
This setup improves navigation across multiple desktops and projects.
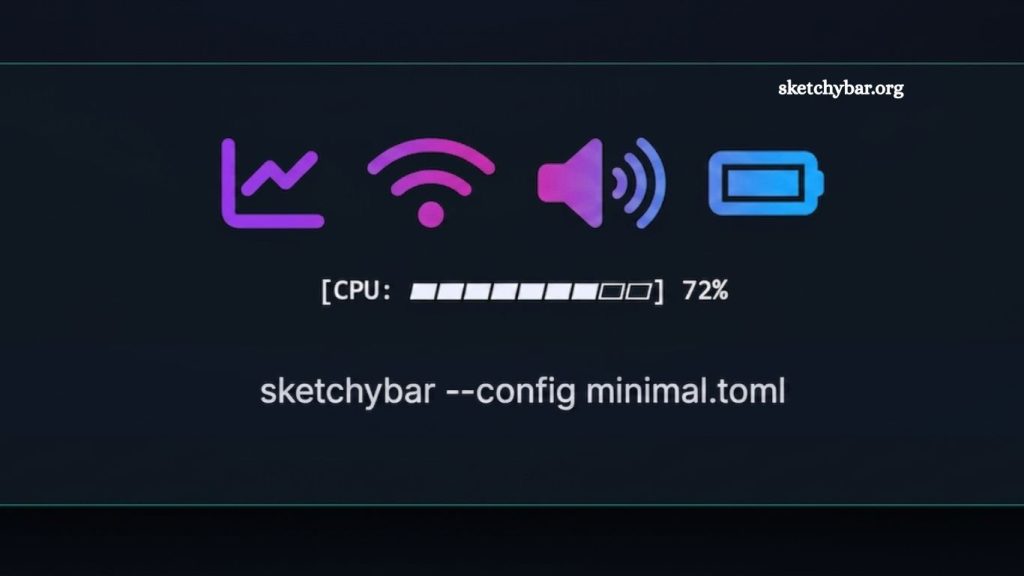
Adding Icons and Visual Enhancements
Icons improve clarity and aesthetics.
Example:
sketchybar –set cpu icon=””
You can use Nerd Fonts for high-quality glyphs.
Common icon usage:
- CPU: processor symbol
- Battery: battery glyph
- Wi-Fi: signal icon
- Clock: time symbol
Icons reduce text clutter and improve readability.
Animations and Interactive Behavior
SketchyBar supports event-based updates.
Example trigger:
sketchybar –trigger volume_change
Items can react to:
- System volume changes
- Battery updates
- App focus shifts
- Workspace switching
This creates a responsive and modern interface.
Advanced Customization Techniques
Advanced users can build fully dynamic dashboards inside SketchyBar.
Conditional Display
Show or hide items based on state:
- if [ “$PERCENT” -lt 20 ]; then
- echo “Low Battery”
- fi
- Multi-Script Architecture
Break logic into modules:
- cpu.sh
- memory.sh
- network.sh
This keeps configuration clean and scalable.
External API Integration
Fetch external data like weather:
curl “https://api.weatherapi.com/…”
Display results directly in the bar.
Optimizing Performance
SketchyBar is lightweight, but optimization improves responsiveness.
Best practices:
- Avoid heavy loops in scripts
- Use caching for API calls
- Update items at intervals instead of continuous polling
- Keep scripts modular
Efficient setup ensures smooth system performance.
Common Customization Mistakes
Many users face issues during setup.
Avoid:
- Overloading bar with too many items
- Using slow scripts without caching
- Poor icon consistency
- Cluttered layouts
A clean design improves usability significantly.
Example Minimal SketchyBar Setup
A simple productive layout:
- Left: Workspaces
- Center: Active window title
- Right: CPU, battery, clock
This structure balances functionality and clarity.
Frequently Asked Questions
What is SketchyBar used for?
SketchyBar is used to replace the macOS menu bar with a fully customizable, script-driven status bar for better productivity and design control.
Is SketchyBar difficult to customize?
Customization is simple with basic commands, but advanced setups require understanding scripts and configuration files.
Where are SketchyBar configuration files stored?
They are usually located in ~/.config/sketchybar/, where all items, plugins, and settings are managed.
Can I add system stats like CPU and battery?
Yes, SketchyBar supports system monitoring through plugins that display CPU usage, battery level, memory, and more.
Do I need coding skills to use SketchyBar?
Basic usage does not require deep coding skills, but scripting knowledge helps for advanced customization.
Can SketchyBar integrate with other tools?
Yes, it works well with tools like yabai and other window managers for workspace and window tracking.
Is SketchyBar lightweight on macOS?
Yes, SketchyBar is designed to be lightweight and efficient when properly optimized with minimal scripts.
Conclusion
SketchyBar offers a powerful way to transform the macOS menu bar into a fully personalized and functional workspace tool. With simple configuration files, flexible scripting, and deep styling options, users can build a setup that matches both workflow needs and visual preferences. From system monitoring to workspace management, every element can be tailored for efficiency and clarity.